Getting started: Setup for VLM Planner
このドキュメントでは、Gemini APIとAWSIMを用いて、VLM Plannerのsetupを行う方法について説明します。
AWSIM側の準備
aichallenge-2025-e2e-testをcloneしてください。ここではホームディレクトリを指定していますが、お好きなディレクトリに配置していただいて構いません。
cd ~
git clone https://github.com/AutomotiveAIChallenge/aichallenge-2025-e2e-test
AI Challenge 2025のドキュメントに従って、
までを実施してください。
cd ~/aichallenge-2025-e2e-test
./docker_run.sh dev gpu
cd /aichallenge
./build_autoware.bash
./run_evaluation.bash
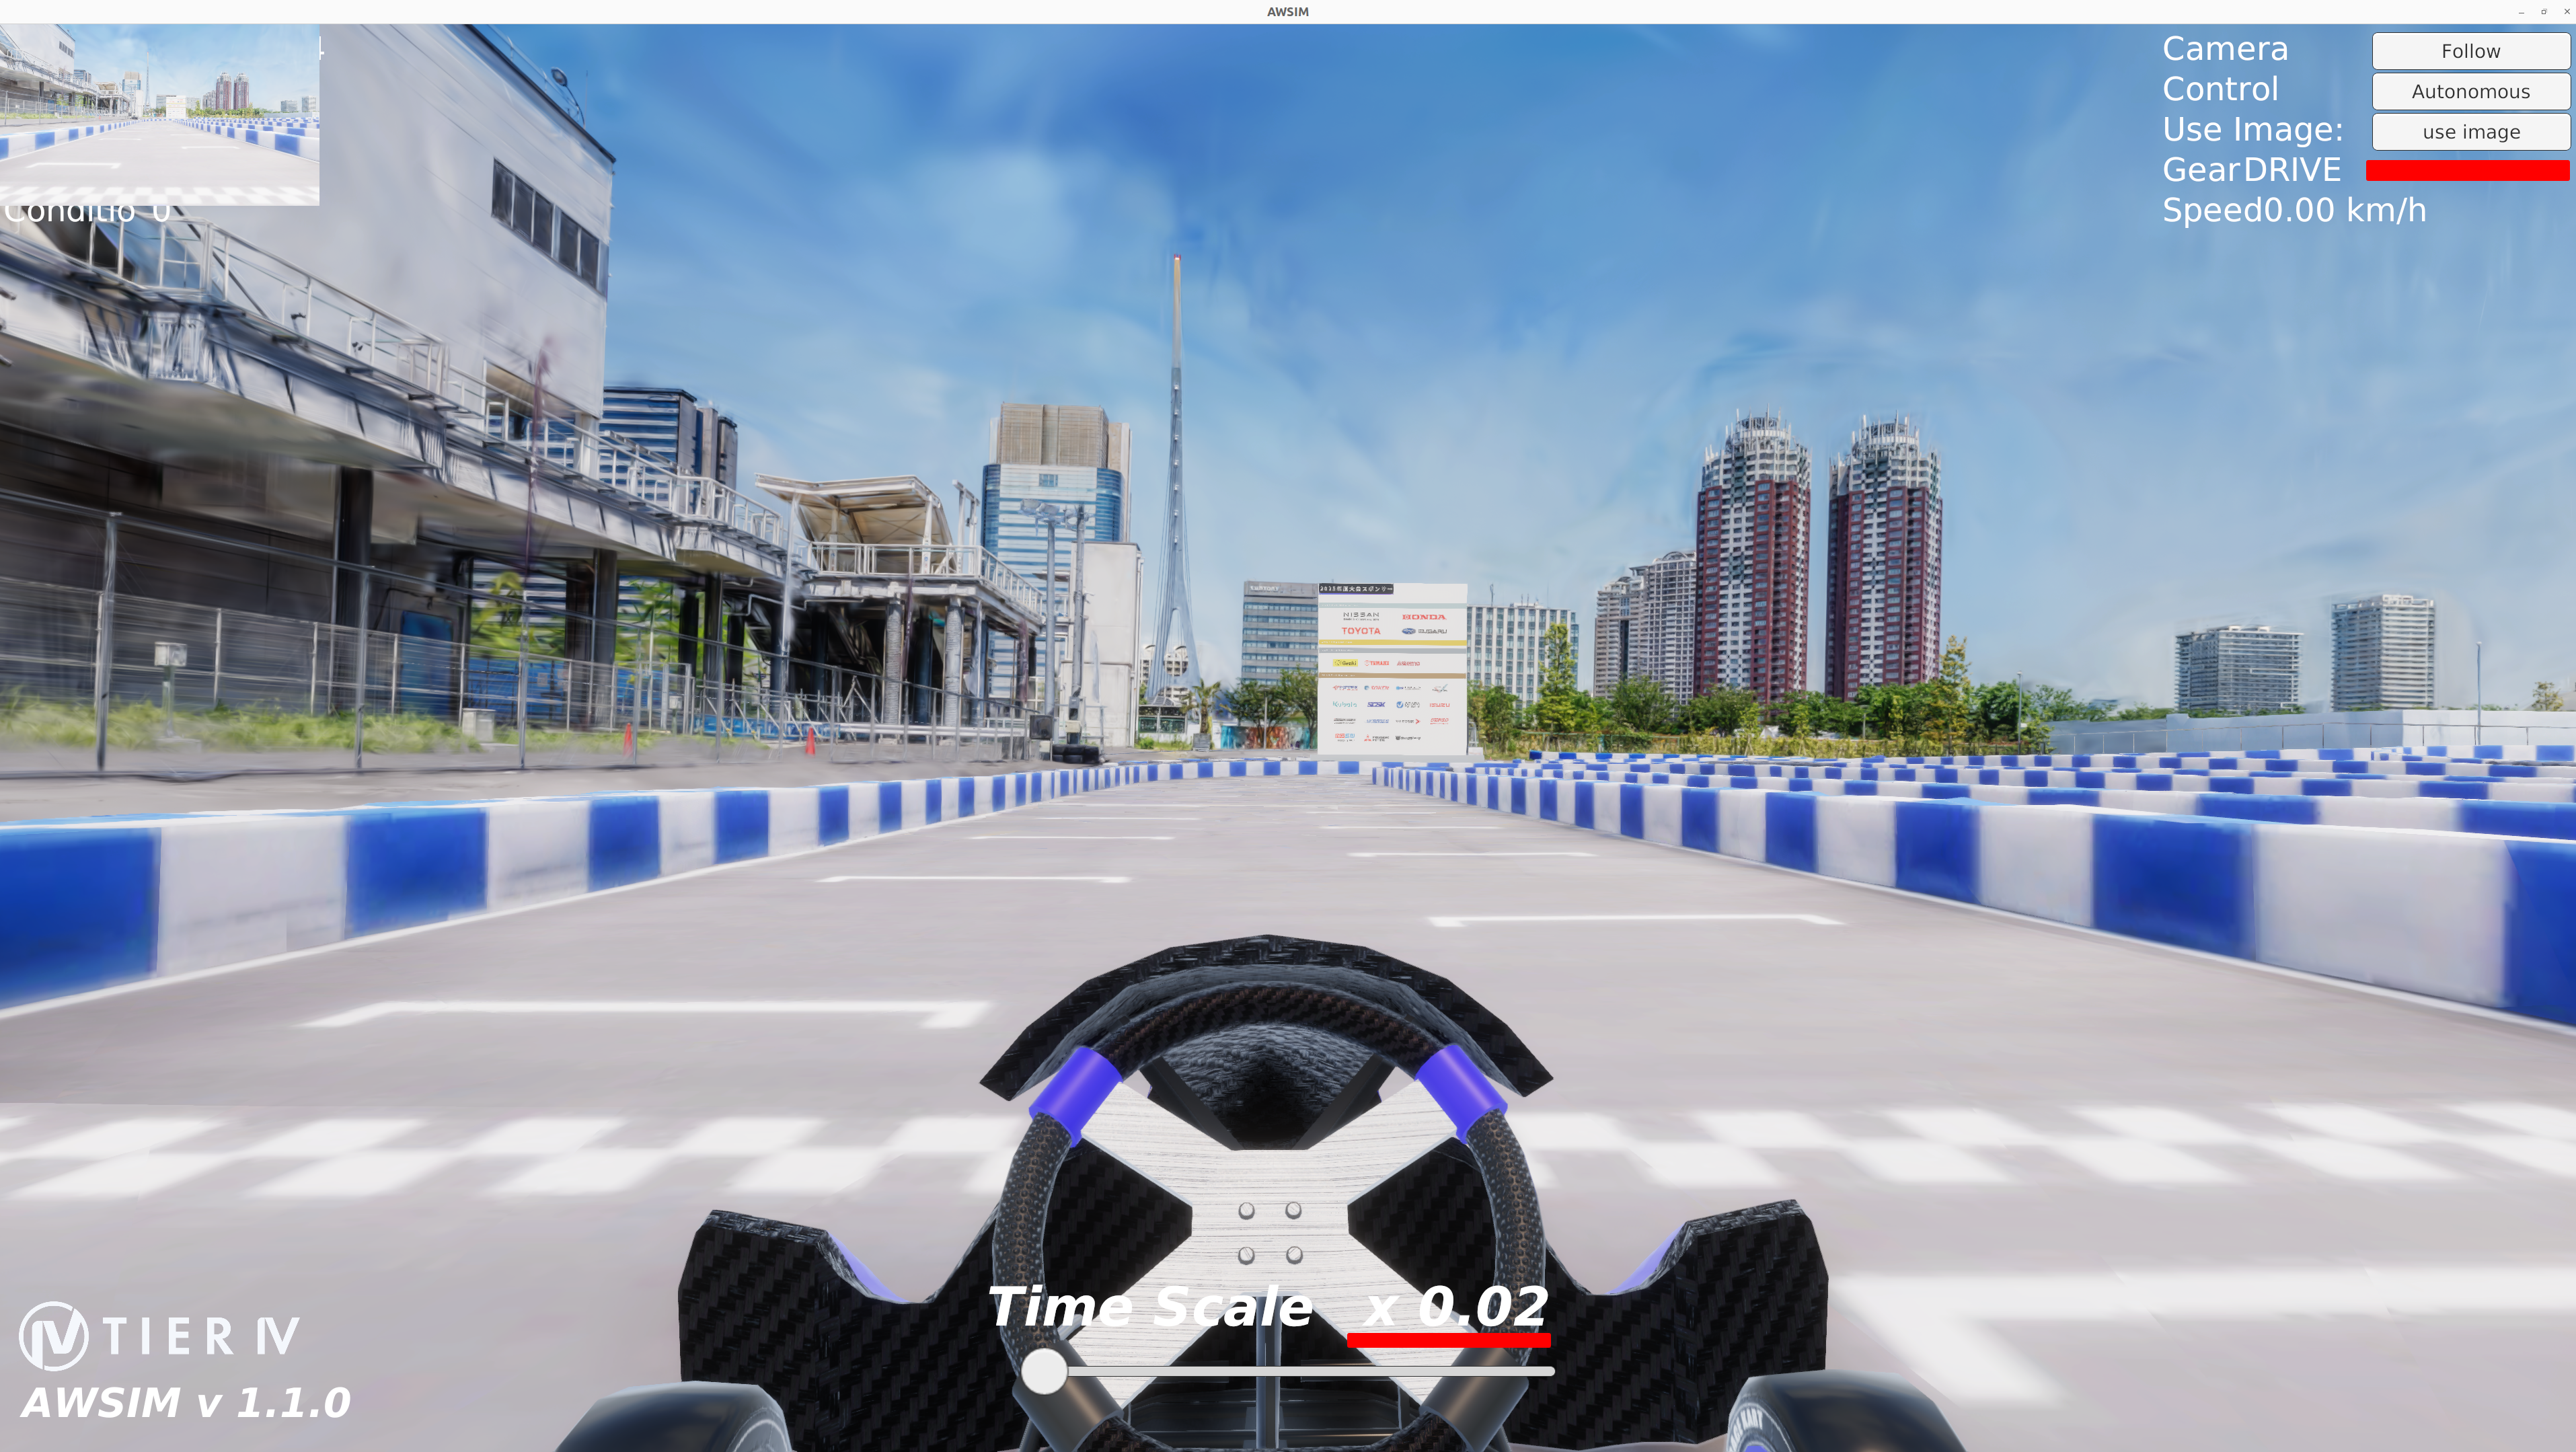
- AWSIMが表示されたら、AWSIMでuse imageのボタンを押してカメラ画像を有効にします。
- カメラ画像が左上に表示されれば、AWSIM用環境の準備はOKです。

Gemini APIの準備
- こちらのdocumentに従って、Gemini API KEYを取得してください。
Info
Gemini API KEYは自分だけしか見られない場所に保管してください。GitHubにpushしないよう気をつけましょう。
VLM Planner環境側の準備
docker imageのpull
Info
docker pullでは、10GB程度のlayerのdownloadを行います。通信環境によっては、一時間以上の実行時間が必要となります。
docker pull ghcr.io/autowarefoundation/autoware:universe-devel-cuda
e2e-utils-betaの環境構築
e2e-utils-betaをcloneしてください。
git clone https://github.com/AutomotiveAIChallenge/e2e-utils-beta.git
cd e2e-utils-beta
sh script/setup.sh
docker run
/path/to/e2e-utils-betaには、local環境にcloneしてきたe2e-utils-betaのpathを埋めてください。
rocker \
  --nvidia \
  --x11 \
  --network host \
  --user \
  --volume /path/to/e2e-utils-beta:/home/e2e-utils-beta \
  --name aichallenge-e2e-utils \
  ghcr.io/autowarefoundation/autoware:universe-devel-cuda \
  /bin/bash
colcon build
- 以下の手順はdockerの中で実施してください。
cd /home/e2e-utils-beta
rosdep update;rosdep install -y --from-paths src --ignore-src --rosdistro $ROS_DISTRO
colcon build --symlink-install --cmake-args -DCMAKE_EXPORT_COMPILE_COMMANDS=ON -DCMAKE_BUILD_TYPE=Release --packages-up-to autoware_auto_planning_msgs autoware_internal_planning_msgs
uvの環境構築
こちらに従ってuvをinstallしてください。
pip install uv
echo 'export PATH="$HOME/.local/bin:$PATH"' >> ~/.bashrc
source ~/.bashrc
uvのinstall完了後、以下を実行してください。
cd /home/e2e-utils-beta;source install/setup.bash;export ROS_LOCALHOST_ONLY=1
cd /home/e2e-utils-beta/src/vlm_planner;uv venv -p python3.10
source .venv/bin/activate
uv pip install .
Gemini APIの設定
- Gemini APIの準備にて取得したAPI KEYを環境変数に設定しましょう。
export GEMINI_API_KEY="YOUR_API_KEY"
Next Step
Getting started: VLM Plannerの実行へお進みください。