Downloading AWSIM with Visualization (Reference)
By default, we distribute a headless version of AWSIM, but we also provide instructions for setting up an environment with visualization for those who wish to use it. Note that setting up a GPU-based environment can often lead to issues, so if you cannot meet the recommended environment specifications or if this is your first time participating, please consider this as a reference.
Installing NVIDIA Drivers
# Add repository
sudo add-apt-repository ppa:graphics-drivers/ppa

# Update package list
sudo apt update

# Install drivers
sudo ubuntu-drivers autoinstall

# Reboot
reboot

# After reboot, check the installation
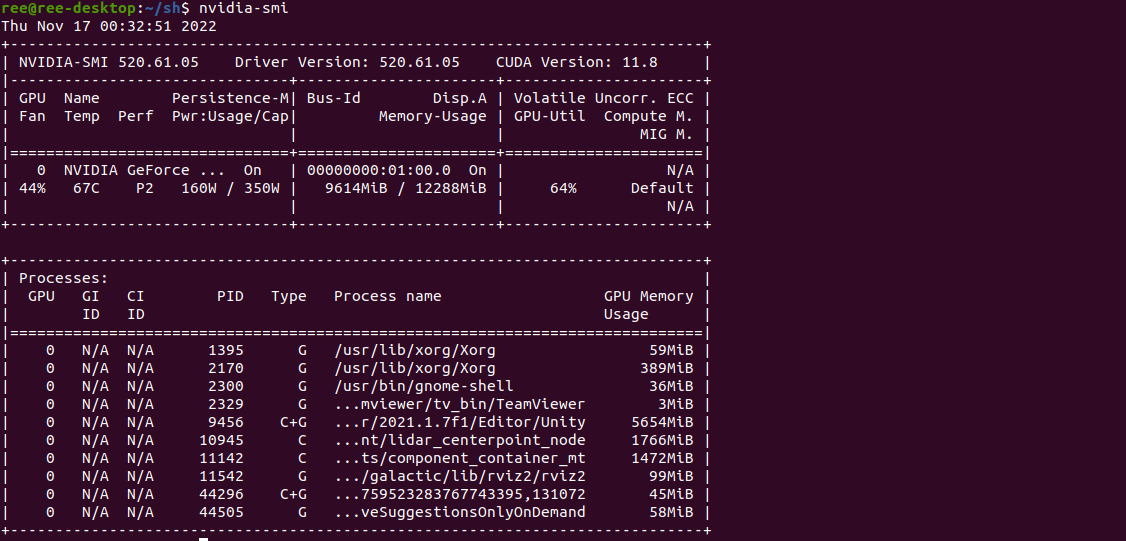
nvidia-smi

Installing NVIDIA Container Toolkit
Refer to the NVIDIA Container Toolkit for installation.
# Prepare for installation
distribution=$(. /etc/os-release;echo $ID$VERSION_ID) \
      && curl -fsSL https://nvidia.github.io/libnvidia-container/gpgkey | sudo gpg --dearmor -o /usr/share/keyrings/nvidia-container-toolkit-keyring.gpg \
      && curl -s -L https://nvidia.github.io/libnvidia-container/$distribution/libnvidia-container.list | \
            sed 's#deb https://#deb [signed-by=/usr/share/keyrings/nvidia-container-toolkit-keyring.gpg] https://#g' | \
            sudo tee /etc/apt/sources.list.d/nvidia-container-toolkit.list

# Install
sudo apt-get update
sudo apt-get install -y nvidia-container-toolkit
sudo nvidia-ctk runtime configure --runtime=docker
sudo systemctl restart docker

# Test the installation
sudo docker run --rm --runtime=nvidia --gpus all nvidia/cuda:11.6.2-base-ubuntu20.04 nvidia-smi

# If the following output is displayed, the installation was successful:
# (The output below is quoted from the NVIDIA website)
#
# +-----------------------------------------------------------------------------+
# | NVIDIA-SMI 450.51.06    Driver Version: 450.51.06    CUDA Version: 11.0     |
# |-------------------------------+----------------------+----------------------+
# | GPU  Name        Persistence-M| Bus-Id        Disp.A | Volatile Uncorr. ECC |
# | Fan  Temp  Perf  Pwr:Usage/Cap|         Memory-Usage | GPU-Util  Compute M. |
# |                               |                      |               MIG M. |
# |===============================+======================+======================|
# |   0  Tesla T4            On   | 00000000:00:1E.0 Off |                    0 |
# | N/A   34C    P8     9W /  70W |      0MiB / 15109MiB |      0%      Default |
# |                               |                      |                  N/A |
# +-------------------------------+----------------------+----------------------+
# +-----------------------------------------------------------------------------+
# | Processes:                                                                  |
# |  GPU   GI   CI        PID   Type   Process name                  GPU Memory |
# |        ID   ID                                                   Usage      |
# |=============================================================================|
# |  No running processes found                                                 |
# +-----------------------------------------------------------------------------+
Installing Vulkan
sudo apt update
sudo apt install -y libvulkan1
Downloading AWSIM (The simulator distribution has ended.)
-
Download the latest
AWSIM_GPU_**.zipfile from Google Drive and extract it toaichallenge-2024/aichallenge/simulator. -
Confirm that the executable file exists at
aichallenge-2024/aichallenge/simulator/AWSIM/AWSIM.x86_64. -
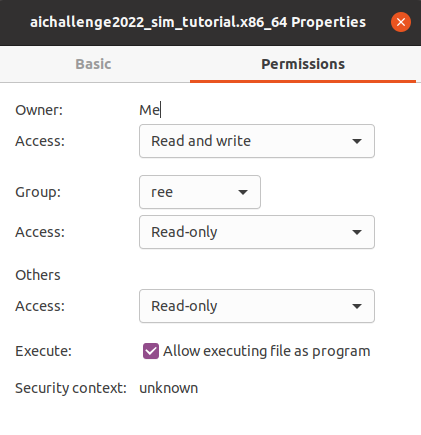
Change the permissions as shown in the diagram.

With this, the environment setup is complete!
Verifying AWSIM Startup
If you are using AWSIM with visualization, start the container with the following commands:
cd aichallenge-2024
./docker_build.sh dev
./docker_run.sh dev gpu
Within the terminal where the container is running (inside the container), execute the following:
cd /aichallenge
./build_autoware.bash
After building Autoware, modify run_simulator.bash. Specify the directory you just extracted for AISIM_GPU_**.
#!/bin/bash

# shellcheck disable=SC1091
source /aichallenge/workspace/install/setup.bash
sudo ip link set multicast on lo
/aichallenge/simulator/AWSIM_GPU_**/AWSIM.x86_64
Make the following changes to run_evaluation.bash as well.
# AWSIM_DIRECTORY=/aichallenge/simulator/AWSIM
AWSIM_DIRECTORY=/aichallenge/simulator/AWSIM_GPU_**
Execute the following command:
./run_evaluation.bash
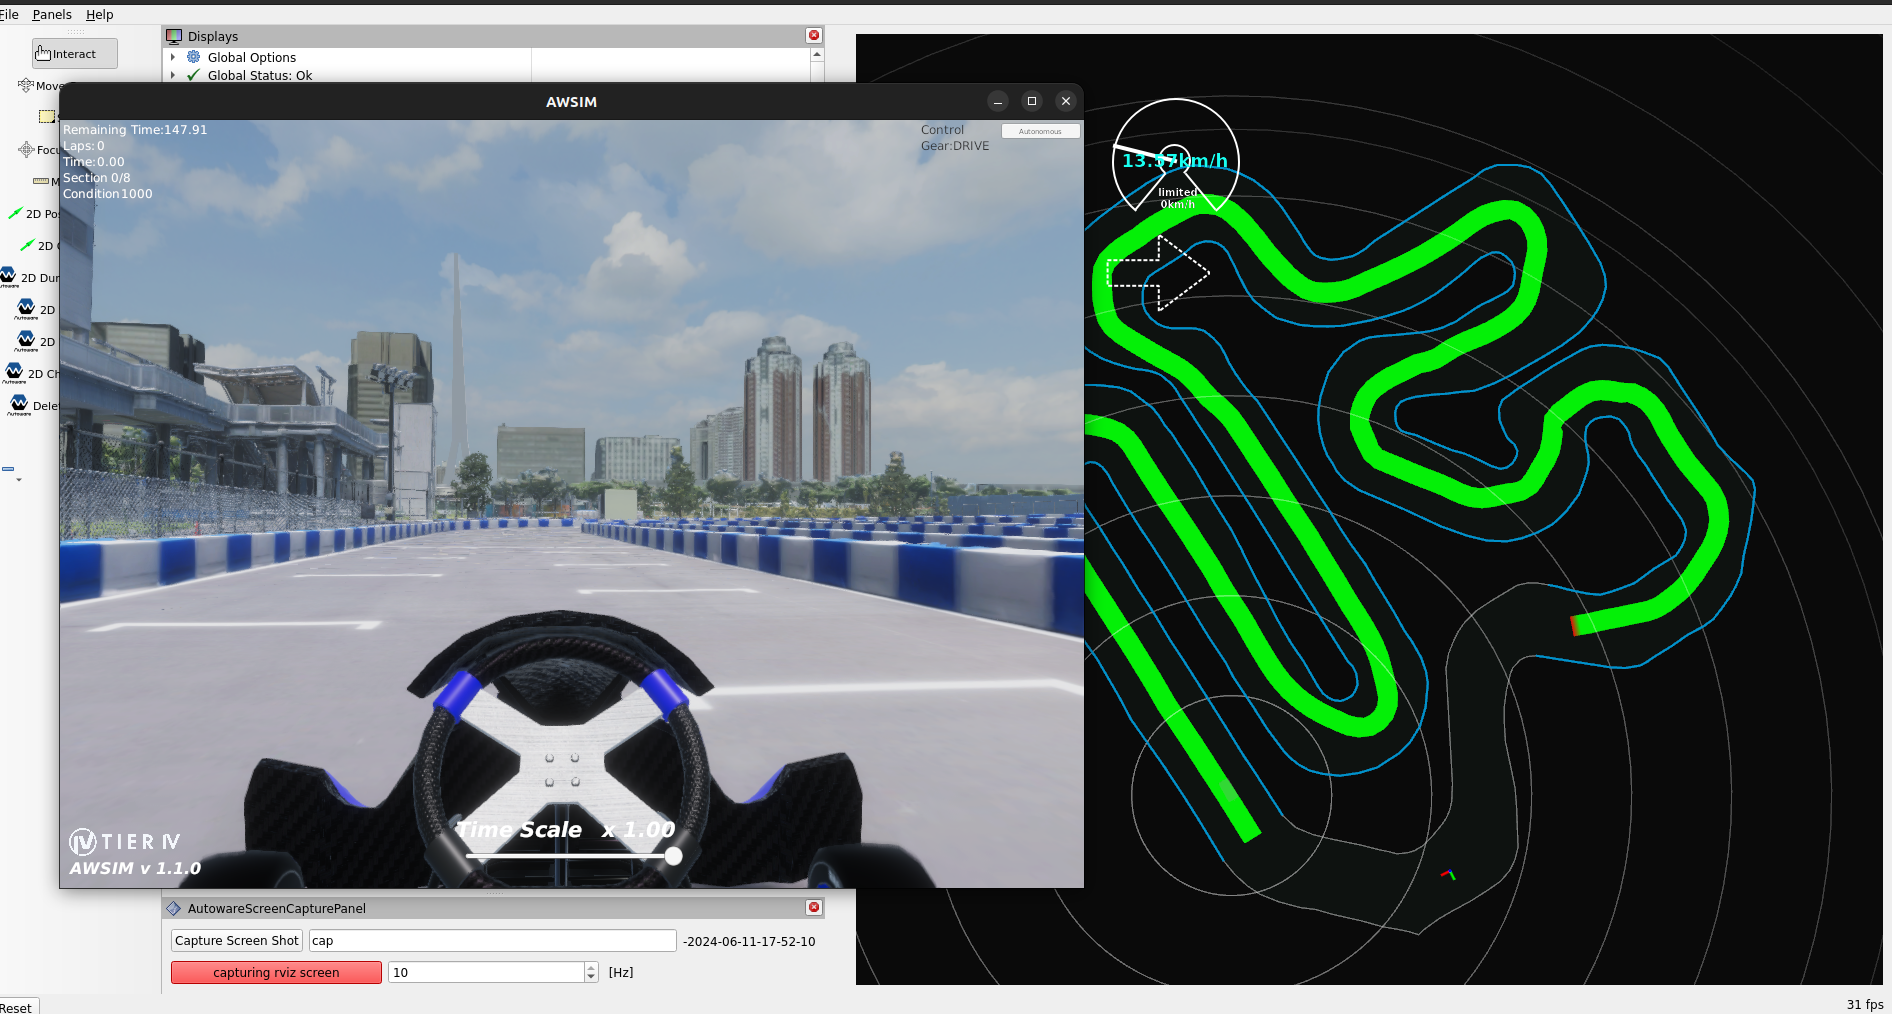
If the following screen appears, it was successful.

This concludes the environment setup!
Next Step: Start Development
Let's start development from Getting Started!